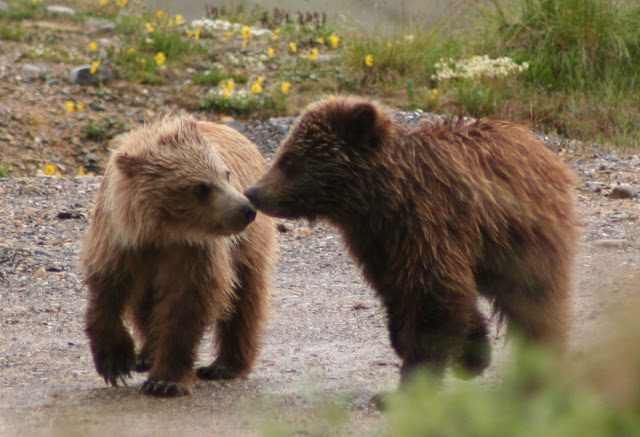
So let's chose a photo. Here's my photo that I'm going to work with:
Let's work with the lighting. Go to Enhance, adjust lighting, levels, and work with the input levels.

There are two other ways to adjust the lighting in your photo. Go to Enhance, Shadows/highlights and work with the three slider bars shown: Lighten Shadows, Darken Highlights, Midtone Contrast. Be sure to click the preview box so that you can see the result from your changes. Rather than using the slider, I find it easier to click in the boxes where the number %'s are shown and use my up/down arrow keys to increase/decrease the values.

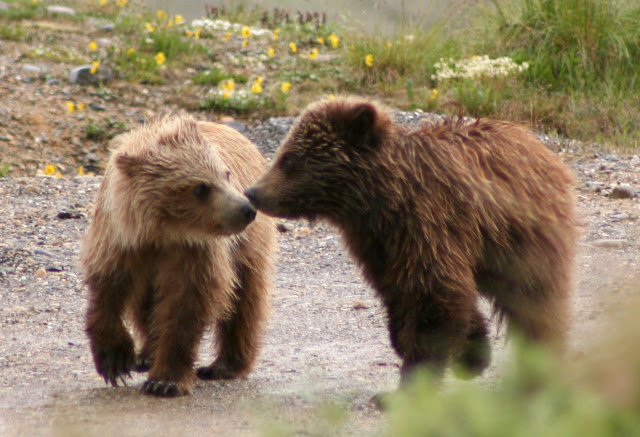
Here is my photo after adjusting lighting levels.
 Now that our lighting is the way we want it, lets work on the color. Sometimes my photos (especially those taken in less than perfect lighting) have a bluish caste to them. Go to Enhance, Adjust Color, Remove Color Cast.
There are a number of color corrections available in the color drop down menus. Go to Enhance, Adjust color, adjust hue/saturation. Click in the number box above the Saturation bar and press the up arrow key to pop up your colors a bit. If the color is just off a bit, try adjusting the hue. Work with these three sliders to achieve the color levels that please you.

My photo after editing for lighting and color.

Want to change your photo to black and white? It's easy, just go to Enhance, Adjust color, Remove color.
After converting to black and white, you may need to adjsut the lighting and/or color levels (discussed above) to get just the right look in your photo.

Want to made an antique looking photo in sepia? Go to Enhance, Adjust Color, Hue/Saturation and near the bottom click the box Colorize. Adjust the hue and saturation levels to get the sepia color that you want.

I hope this is helpful to you. If you have questions, please post them here and I will try to help. Since I am just learning PSE, we can stumble along together!!

No comments:
Post a Comment
Thank you for leaving a comment. Your feedback is important to me! I'm always happy to answer questions, just leave them in the comments section and I will respond either here or leave me your email address.